7 min read
Grow Purple Basil for Leaves and Flowers
Try two kinds of care with two pots of purple basil, and learn when the dark foliage signals a problem.
On this page
A pot of purple basil can spend the summer at the kitchen door and end the season with hardly a flower. A second pot from the same batch can make pink or pale spikes above its dark leaves. You can try both without giving up much space. Take frequent small cuts from the first, let the second expand toward flowering and see how the shape of each changes. Pay attention to the leaf undersides as well as the color you can see from across the patio. In a humid summer, a leaf on a purple plant can tell you more about its health when it is held against the light.
Purple sweet basils are selections of Ocimum basilicum. Their flavor and growth can differ by variety, as can the depth of color and the amount of green found on the leaves. When comparing varieties for the kitchen, check the color of several mature leaves on a plant. Start with a known plant from a seed packet or a properly labeled nursery pot. Two seedlings of the same cultivar are easier to compare than two very different strains.
Put two pots where you can reach both sides
Choose a bright, warm position with air moving around the leaves. Sweet basil is tender and can be damaged by cold. Set it out once conditions are warm and the chance of frost has passed. Harden indoor plants off gradually so their leaves get used to brighter light and stronger air movement. Keep an eye on forecasts during the transition. A sheltered, movable position is especially helpful when the days have warmed but nights remain cool.
Begin with two containers of comparable size, each with open drainage holes. Use a freely draining potting mix and allow for the mature size on the plant label. One sturdy plant per pot can be easier to inspect than a dense group whose leaves touch on all sides. Set the pots where you can turn them or reach them with a hand without brushing against another plant. Close to a door is convenient for picking. A corner that receives little light simply because it is convenient may give weak shoots and foliage that stays wet.
Water the root zone thoroughly as needed and let excess drain. Pick up one pot to get a sense of its weight shortly after watering and again as the mix begins drying. Check by feel below the top surface. One pot may use water faster after it develops a larger leaf area, even if the two stood side by side and began the same size. A routine made for a dry afternoon can give too much water when the weather changes. Avoid leaving water sitting around the base of the containers.
Cut the first pot where you want new growth
When the plant is strong enough to branch, follow a stem down from its tip. Identify a pair of good leaves with a point of growth near the join. Cut just above that pair, leaving healthy leaves beneath. The shoots below the cut can then branch. Repeatedly taking only the lowest leaf from a tall bare stem does little to make a plant compact. Choose the point where you want a fresh pair of branches and take a short leafy piece above it.
Use different stems each time and stop before stripping most of the plant at once. Look down at the plant in the week after your first significant cut. You can usually see small shoots expanding in the leaf joints. If they are small and the weather is cool, put off the next harvest. When the growth is vigorous, pinch out developing flower buds on the leaf pot if you want to maintain a supply of soft shoots. Your own leaves and buds provide a better signal than a fixed cutting schedule.
Make cuts with clean snips and take sound foliage from a plant grown for kitchen use. Use the amount you expect to need while it is fresh. If rain or watering has left the plant wet, allow it to dry when possible before you handle and harvest it. Give the foliage room to dry after dew. A habit of checking both surfaces before the leaves reach the kitchen is also a straightforward way to catch the first signs of damage.
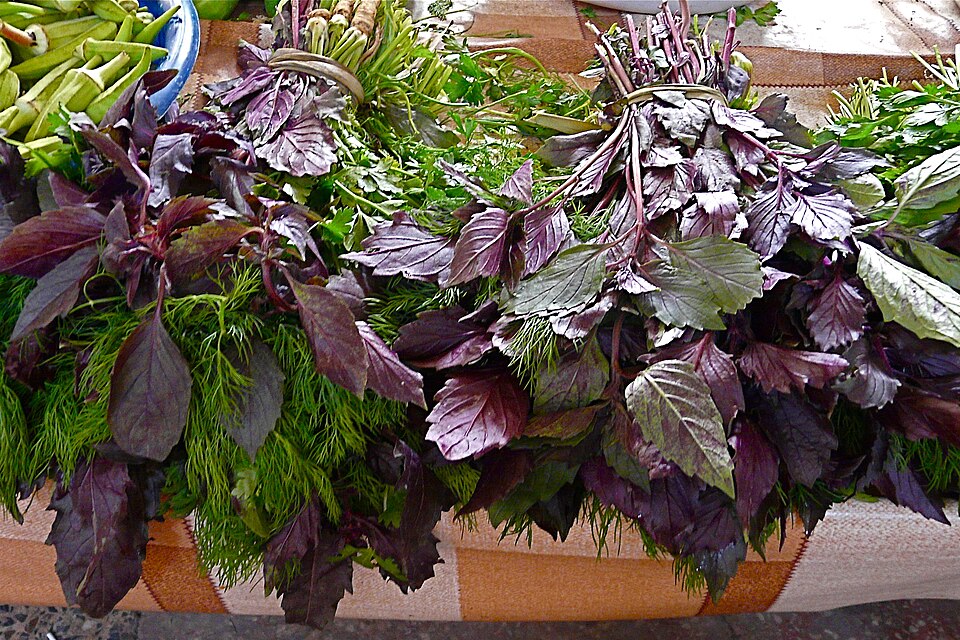
Check how the new growth looks after several cuts. On some varieties the top leaves appear almost black in bright light, while stems and older leaves lower down show more green. That pattern is useful to record on a healthy plant early in summer. A note or photo taken from below fixes the usual colors for comparison if the leaves change. Leave the two pots long enough in comparable light before deciding whether the more frequent picking changed the display. If one pot is under a porch roof while the other stands in the open, move them to similar light first.
Give the other pot a flower display
Allow the upper stems on the second plant to elongate as they form buds. Give a tall selection room and check how the flower stalks respond to wind. A light support may be worthwhile on an exposed step if the whole plant begins leaning away from its pot. Move it back from the edge of the step before tying it. Stems easy to see while they are short can catch on a bag or sleeve once the flowers have reached their full height.
Watch the first small blooms closely. They rise above the broad leaves in groups and can have a softer color than the foliage. On a late afternoon, turn the plant enough to see the flowers against an empty part of the garden rather than against taller foliage. You can keep part of the plant flowering and clip a few other stems for a less open shape. If you prefer only a short display, cut the spent stalks before seed has ripened and see whether new leafy shoots follow.
Once the flowering plant gets tall, compare its needs with the more frequently cut pot. The larger canopy may dry its mix faster on a bright afternoon. It can also shade the interior of the plant so that moisture remains on some leaves longer. Thin only enough to let light and air between the stems if crowding is an issue. Flowers left on a garden selection may lead to seed, but offspring will not always reproduce the same leaf color or flavor. Save the name of the original variety if it is one you want to grow again.
Look underneath when the foliage changes color
Basil downy mildew can cause yellowed patches and a gray, brown or purplish coating beneath the leaf, usually where the tissue above is discolored. On a dark purple leaf the change may be harder to spot from the top. Hold a leaf by its stem and turn it in bright daylight. Compare the underside with one that looks healthy. Look for changes that follow sections between the veins. A patch or two on older growth can justify closer inspection of the adjoining leaves and stems.
A fading purple color alone is an uncertain guide to disease. Purple basil can vary naturally in color, and gardening stresses can make a leaf look different over time. Consider the pattern of symptoms and the conditions in which they appeared. If in doubt, look up the diagnostic photos from a local extension service or ask for help identifying an affected plant. Separate suspicious pots from other basil during inspection, particularly when the underside looks dusty. If downy mildew is confirmed, Minnesota Extension advises removing the affected plant.
Look for better spacing before reaching for any treatment. Steady movement of air, enough distance between foliage and early watering of the mix instead of soaking leaves late in the day can help the foliage dry. Where disease is a regular problem, choose a cultivar with documented resistance in your region. Some purple types have shown lower disease levels than some other basils, but color by itself does not establish resistance. Read the seed or nursery listing and check local growing advice.
Keep the plant that earned its space
When cooler nights arrive, bring the comparison to an end. Think about which pot gave you the leaves you wanted, which kept its shape near the door and whether the stems in flower were worth the room they took up. If the flower pot was larger than you expected, try a lower cultivar next year or move it farther back. If the clipped plant renewed slowly, look at how far down you cut and how bright its site was.
You may prefer a third approach in the next season. Let just one stem flower on a plant otherwise kept for leaf use, or keep the two pots separated so the flowers are visible from the garden while the useful leaves remain close to the kitchen. The small comparison shows how the same variety behaves under different care. Its value is in knowing which cuts the plant can recover from and when it is worth letting the tips grow on.
Further reading: University of Minnesota Extension guide to growing basil.