7 min read
Open Up a Crowded Scarlet Bee Balm Patch
Identify the strongest edge of an old Monarda clump, make room for air and keep the route for inspecting leaves clear.
On this page
An established bee balm planting can give a border two quite different outlines. In spring the new shoots seem to make a clean ring, with a few green points beyond it. By summer the neighboring plants are leaning into the stems and reaching the leaves at the center requires both hands. If pale patches begin to appear on the foliage, a spring plan would have made that inspection easier. Decide which part of the original patch gives you the strongest stems and leave enough space around it to see what the leaves are doing.
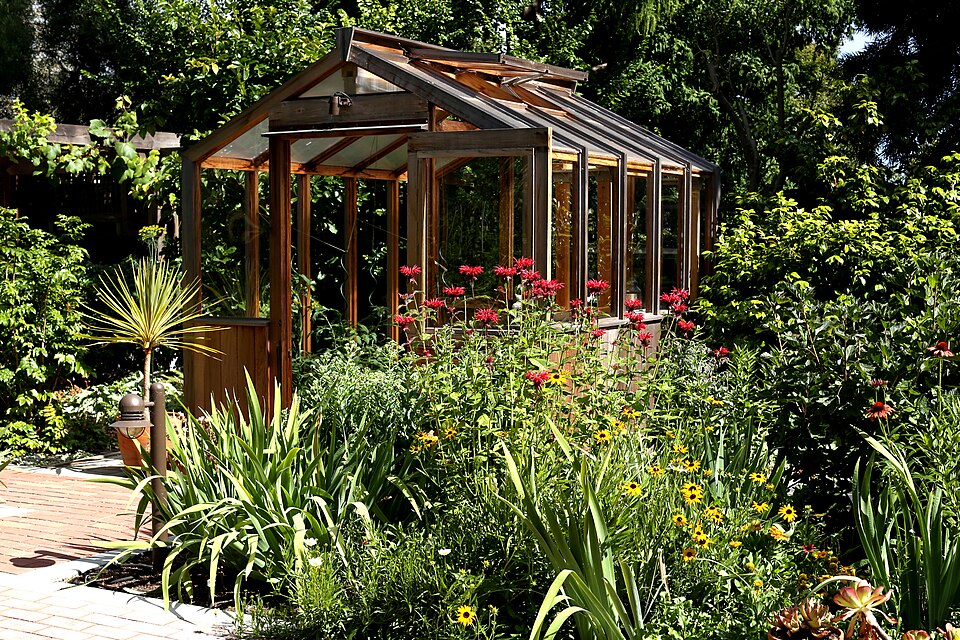
Scarlet bee balm, Monarda didyma, is a member of the mint family. It is native to parts of eastern North America. Its red summer flowers can attract bees, butterflies and hummingbirds where those visitors occur. It extends by underground stems and may move into the next planting over several seasons. A good patch can occupy a generous island of soil without crowding everything around it. The work here is to redraw that island where it has grown beyond the room you meant it to have.
Make two outlines while the shoots are short
Find the clump in spring and mark where it grew the previous year, if you have a photo or a few old stalks. Then mark the outside points at which new shoots appear. Use a fairly small marker at one end and a stone or other permanent feature at the other. Leave enough room between your intended line and the next mature plant that you can still see the base of both from a path. A hand or a narrow tool should fit through that space when the border is full of leaves.
Study the vigor of the center and the edge. A patch with strong outer shoots and poor growth at the middle can be a useful candidate for lifting and division. A plant that still grows vigorously but sends a few shoots toward a slower neighbor may need only that edge cleared. Look at the weather and condition of the soil. Make the larger change when you can water in new divisions and give their roots time to take hold. Early fall can work in some regions if plants have enough time before hard frost. Spring is another usual opportunity.
Pick the useful part to keep before you begin to dig. You might favor a brighter section that flowered well or an accessible part away from an overhanging shrub. Blood red blooms are most visible where the stems can rise into light. Full sun with moist, well-drained soil is a sound starting point, and a suitable site with some shade can work. A border that stays persistently dense and damp around the leaves gives you a different problem from one that simply has moist soil. Look at the openings through which air enters the full canopy.
Remove a side or lift a manageable section
Start with shoots outside the footprint. Work away from the plant you want to keep so you can follow the growth underneath. Lift the unwanted shoots together with their connecting stems where practical. Avoid slicing right through a neighboring plant just to achieve a perfect line. If you have to leave a piece while you wait for suitable conditions, mark that spot and return while new growth is still easy to see. A narrowed edge under an established plant may be better maintained with small checks than one traumatic dig.
For a crowded clump, loosen a manageable section and lift it with enough sound roots. Look for firm pieces with living shoots. Separate those and reset them at the level the growing points sat before. Discard weak or clearly diseased material appropriately. Replant the good section where it still has room to expand, and water around the roots. Use a labeled pot or a new suitable site for any excess that you want to keep. A piece sent to another gardener should be sound and identified, with its tendency to spread explained.
Keep the planting soil evenly moist while divided pieces establish, while letting excess water drain. Check after rain where the surrounding ground is heavy. A newly reset clump can dry in one part and stay wet in another. Use a slow soak near the root area when it needs water, rather than wetting the entire canopy every time. Retain access on the side you chose for inspection. If the patch looks initially loose, wait to see what its usual summer branching will do to that space.
Diagnose pale foliage from the outside inward
Pale powdery patches on leaves can be a sign of powdery mildew. Compare affected and healthy leaves in good light and look for the same material on several stems. A little leaf damage can be mainly an appearance issue on a vigorous patch, while a widespread problem deserves a closer look. Use a local horticultural source to confirm the cause if you are uncertain. A deposit left by watering, old marks and pale discoloration within a leaf may not have the same appearance as fresh powdery growth on its surface.
Check where the first affected leaves are found. A crowded area near tall neighbors may have very little air movement when the rest of the border dries quickly. Look at the distance between stems, the shade nearby plants cast, and how you water. Remove obvious crowding as appropriate and put irrigation at soil level. Those changes do not guarantee complete prevention, but they give the foliage a chance to dry and make emerging symptoms easier to see. Pay attention to weather and disease pressure rather than expecting the same result each season.
If you are buying another variety because the patch often suffers, check relevant regional trials and look for resistance claims supported in conditions similar to yours. A trial in the mid-Atlantic, for example, compares certain cultivars under local pressure. One named red type may perform better than the straight species on that site while still developing mildew. Use resistance as part of the decision with size, local adaptation and flowering, not a promise that a cramped bed will be fine. Give a replacement its own accessible position so you can compare it fairly.
Keep a simple inspection opening through summer
Imagine a clump about a meter wide after the neighboring grasses and phlox have reached their height. From one observation point you may be able to see the flowers but none of the lower leaves. From the other end there might be a way to see the first several stems in profile. Put the opening there. Remove one or two outer bee balm shoots while they are small, instead of trying to trim a slot all the way through the peak summer foliage. Make it wide enough for a useful look at the front leaves and that you can return to the same place regularly.
Take a photograph from that side just before flowers open. Once you have noticed a pale patch, take close views of one affected leaf low on the stem and one near the top. Repeat from the same position a few days later if the change seems to be spreading. The two heights give an adviser better evidence than a detached leaf from an unmarked stem. If rain soaked the bed and the lowest leaves were already damaged by contact with the soil, keep that observation separate from newly appearing material higher up.
Keep shade from new neighboring growth in the comparison. A large plant moved in next door can make a patch harder to see and leave air moving differently through it. You may be able to reposition just that neighbor when conditions allow. Once you can see the stems, decide whether the bee balm itself still needs further division.
Decide what to leave after bloom
Keep an opening where you can retrieve plants or stems without pushing through half the canopy. When flowers fade, decide which healthy stalks can remain for seed or winter structure and which are blocking access. Some garden guidance suggests leaving a portion of suitable old hollow stems for nesting insects where compatible with local wildlife management. Remove seriously diseased material as appropriate for the condition and location. A patch may offer both a clear path and several standing stems if the cleanup is selective.
Inspect the bed again just before the new growth makes the old outlines disappear. Check for the farther shoots you marked in spring. If the reduced planting filled the available ground comfortably, leave it alone and clear only the places it crossed. If the neighbor or the bee balm has increased enough to close the gap, take another look at the mature size of each. You may be better served by moving one group once than by pulling a strip every few weeks.
A recovered clump should be easy to see at soil level even when its flowers are at their best. Use that visibility to choose how much stem and leaf to keep. The best size depends on the room available and the amount of access the next plants need. Keep a year-to-year record of the side that spreads fastest and the conditions where leaves remained sound. Those notes make a useful guide to placing a second patch if you want one.
Further reading: NC State Extension profile of scarlet bee balm.